As the autumn air starts to settle in, it’s easy to forget about furnace maintenance until the first chill of winter’s arrival. However, now is the perfect time to give your heating system the attention it needs. Proper care is essential for maintaining efficiency and avoiding costly repairs later. The U.S. Department of Energy highlights that heating costs can make up nearly a third of a household’s utility bill, meaning inefficient systems can drain both your energy and your wallet.
While hiring a professional can be an option, a cheaper option is to tackle some simple maintenance tasks yourself. All you need are a few basic tools, cleaning supplies, and replacement filters or batteries. Follow this furnace maintenance checklist to ensure your furnace is maintained and ready to prepare for the heating season ahead, avoiding unnecessary costs and ensuring comfort when you need it most.
Why Furnace Maintenance Matters
Preparing your furnace is essential as winter draws near. Regular furnace maintenance ensures your HVAC system runs smoothly and efficiently, keeping your home warm and your energy bills low. Here’s why maintaining your furnace is a smart move.
1. Boosts Furnace Efficiency and Heating Efficiency
Proper maintenance keeps your furnace running at its best, ensuring better heating performance and improved energy efficiency. This results in a warmer home without wasting energy or increasing your energy bills.
2. Saves You Money
Efficient operation of your HVAC system means lower energy bills and fewer unexpected repairs. Preventive care helps you avoid expensive breakdowns, leading to significant cost savings in the long run.
3. Extends Your Furnace’s Lifespan
Routine maintenance can help your furnace last longer. By addressing wear and tear early, you reduce the chances of needing a heating unit replacement. This ensures a longer lifespan for your system and an extended lifespan overall.
4. Enhances System Reliability and Reduces the Risk of Breakdowns
Regular furnace maintenance makes sure your HVAC system is less likely to fail. Maintenance tasks catch issues before they cause major breakdowns, ensuring your system is reliable when you need it.
5. Supports Safety
A well-maintained furnace reduces safety risks, such as gas leaks or electrical problems. Keeping up with maintenance helps prevent hazards like carbon monoxide leaks, making your home safer.
6. Keeps Your Warranties Intact
Many furnace warranties require regular maintenance. Skipping this could void your coverage, leaving you stuck with repair costs if something goes wrong.
7. Lowers Operating Costs
By improving furnace efficiency, you reduce your operating costs. A properly maintained system uses less energy, saving you money on energy bills and decreasing the need for expensive repairs.
8. Prevents Wear and Tear Early
Small issues can quickly become major problems. Routine maintenance helps prevent unnecessary wear and tear, reducing the need for heating repair down the road.
9. Maximizes Fuel Efficiency
A well-maintained furnace uses fuel more effectively, increasing fuel efficiency and reducing energy consumption, helping you save on energy bills.
10. Improves Heating
Regular furnace maintenance ensures your heating is consistent and effective, providing reliable warmth throughout your home while improving overall heating efficiency.
Furnace Maintenance Checklist
As the colder months approach, it’s essential to ensure your furnace is in top shape. Performing some simple furnace maintenance tasks can help your heating system work efficiently throughout the winter. Here’s a furnace maintenance checklist to guide you through the steps.
Before You Begin
Before diving into the maintenance tasks, make sure to turn off the furnace’s power supply gas supply valve. This ensures your safety while working on the furnace.
Air Filter
One of the easiest and most important tasks is to change the air filter. A clogged or dirty filter can restrict airflow and reduce efficiency. Aim to change it at least every three months to keep the furnace running smoothly.
Combustion Chamber (Oil Furnaces Only)
For oil furnaces, it’s crucial to clean the combustion chamber. First, remove any carbon deposits. Next, vacuum the soot and debris in the chamber. Check for holes or corrosion that may cause leaks or other issues in the furnace.
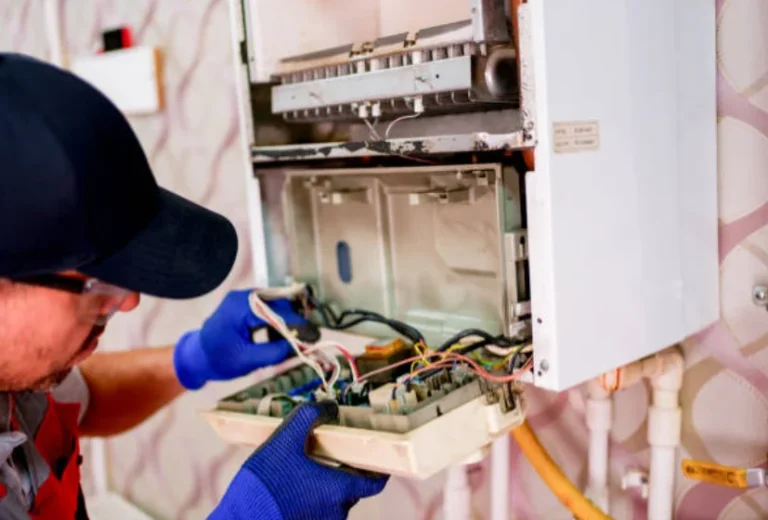
Burners and Flame Sensor
Next, take a close look at the burners. You’ll want to clean the flame-end and the transition channels of each burner to ensure proper combustion. Inspect the burners for cracks that could lead to inefficiency or dangerous leaks. Don’t forget to clean the flame sensor and vacuum any dirt around the burners and inside the furnace cabinet.
Blower and Blower Motor
The blower is key to ensuring warm air circulates throughout your home. Check that the fan spins freely. If your furnace has belts, inspect them for any signs of damage. Use a vacuum to clean the furnace cabinet, and make sure to clean the fan blades. If necessary, oil the motor bearings to keep the blower motor in good working condition.
Humidifier (Evaporative or Steam)
If your furnace has a built-in humidifier, take some time to maintain it. For an evaporative humidifier, replace the evaporative pad, and wipe out the humidifier cabinet. Don’t forget to flush the supply and drain tubes to prevent clogging.
For a steam humidifier, start by cleaning the overflow pan and tank. Remove the o-ring from the overflow tank and clean around the orifice. If the o-ring is damaged, replace it. If your unit has a water filter, check the manufacturer’s instructions to see if it’s time to replace it.
Vents and Chimney
Inspect the flue pipe for any holes or gaps. This is crucial for proper exhaust ventilation. Also, make sure that the vent or chimney outside is not blocked by debris or obstructions.
Heat Exchanger
Check the heat exchanger for damage, rust, or carbon deposits. These issues can severely affect the furnace’s efficiency and safety. Perform a match test to confirm that the heat exchanger is working properly.
Smoke and Carbon Monoxide Detectors
Your smoke and carbon monoxide detectors are crucial for safety. Test them regularly to ensure they’re functioning properly. Replace the batteries every six months, and replace the detectors every five to seven years to avoid malfunction.
Thermostat
Your thermostat controls the temperature in your home, so it’s important to keep it in good working order. Replace the battery at the beginning of each heating season and cooling season. Check that the date, time, and programmed schedules are correct. Make sure that all the functions, settings, and fan speeds, if applicable, are working properly. Use a thermometer to ensure that your thermostat is calibrated accurately.
Furnace Maintenance Steps
Maintaining your furnace before winter hits is crucial to ensuring it works efficiently throughout the cold months. Below are some simple yet essential furnace maintenance tasks that every homeowner can handle.
1. Ensure the unit’s power is completely turned off
Before you start any maintenance on your furnace, always remember to cut power to the unit. This means turning off the electricity by switching off the circuit breaker in your breaker panel. Some furnaces have a junction box or a light switch that controls the power; make sure to turn that off as well. Don’t forget to also shut off the fuel supply valve on the gas pipe—this is a good precaution to avoid any accidents. Ensuring the power and fuel are off is an essential maintenance step before you dive into more detailed tasks.
2. Change the filter
Air filters are crucial for keeping the air in your home clean. These filters trap dust, allergens, and other contaminants, preventing them from entering your HVAC system. Regularly changing your filter helps maintain good air quality and ensures proper airflow.The frequency at which you should change the air filter may vary, but experts Energy Star, generally recommend doing so at least every three months, though you might need to do it more often depending on your home’s air quality and system usage.
When replacing the filter, make sure to check the filter size (length, width, and depth). You can use a measuring tape to measure the size and round up to the nearest whole number for the nominal size. Also, don’t forget the MERV ratings. These ratings show how well the filter traps small particles. However, a filter with a very high MERV rating might restrict airflow, which could damage your HVAC system.
3. Clean out the combustion chamber
The combustion chamber in your oil furnace is where fuel mixes with air and burns to generate heat. Over time, this process creates soot and carbon deposits, which can lead to corrosion. To clean the combustion chamber, first, remove the cover and use a wire brush to scrape off the deposits. Once that’s done, use a shop vac to suck up any loose debris. It’s also a good idea to inspect the chamber for any holes or corrosion before replacing the cover.
4. Clean the burners and flame sensor
The burners in your furnace burn fuel to produce heat, and over time, they accumulate carbon and soot. To clean them, remove the furnace access panel and carefully remove each burner. If you’re not comfortable removing them, you can clean around them with a wire brush and a vacuum. It’s important to clean the furnace flame sensor while you’re at it. This safety device ensures that flames are coming from the burners when the gas valve opens.
To clean the flame sensor, remove it from its housing and use a scouring pad or fine-grit sandpaper to scrape off any residue. Be sure not to damage the porcelain coating at the tip of the sensor. After cleaning, reattach the sensor, reinstall the burners in the same order, and vacuum any dirt inside the furnace.
5. Clean the blower and blower motor
The blower and blower motor are responsible for circulating air through your furnace and out into your ducts and vents. Check the motor to make sure it’s working properly. If it has belts, check for any cracks or damage. To clean the blower, you’ll likely need to remove it from the furnace cabinet. Once removed, use a vacuum and an old toothbrush to clean the fan blades without disturbing the motor’s wiring or counterweights.
Make sure to lubricate the motor bearings at least once a year with non-detergent motor oil. If you have an older motor, you can add oil to the oil ports. For newer models, apply oil directly to the motor shaft. This ensures smooth operation and extends the life of the motor.
6. Clean your humidifier
Many homes with an HVAC system have a whole-house humidifier that adds moisture to the air, especially in winter. If you have an evaporative humidifier, remove the evaporative pad and clean it. You should also flush the water supply and drain tubes with a vinegar solution to remove any mineral deposits or dirt. Replace the evaporative pad annually.
If your system uses a steam humidifier, you will need to turn it off and wait for the drain cycle to finish. Once done, remove the overflow pan and tank and clean them using the vinegar solution. Inspect and clean the O-ring and orifice, and replace the O-ring if it’s damaged. Check your manufacturer’s directions for when to replace the water filter if your system has one.
7. Check the vents and chimney
Check the vents and chimney for any debris, such as snow, vegetation, or even animal nests. Blockages can prevent toxic gases like carbon dioxide from properly exiting the house. Inspect the chimney flue and look for any holes or gaps where gases could leak. This is a simple but vital step to ensure your furnace is venting properly.
8. Inspect the heat exchanger
The heat exchanger in your furnace heats the air that’s circulated throughout your home. It’s usually located behind the burners, and its metal tubes can get damaged over time. While a full inspection should be done by HVAC professionals, you can perform a few simple checks. Remove the access panel and inspect the cells of the heat exchanger for any visible rust or carbon deposits.
Perform a match test by setting the thermostat fan to “on,” turning off the gas supply, and lighting a match. Hold the match near the burner assembly or the heat exchanger cells. If the flame wavers or blows out, it could indicate a crack in the exchanger, which could lead to a dangerous carbon monoxide leak. If you suspect a crack, it’s important to stop using the furnace and call a professional immediately.
9. Test the smoke detector and carbon monoxide detector
Smoke detectors and carbon monoxide detectors are critical for safety, especially if you use a fuel combustion furnace. Test both detectors to ensure they are working properly. Change the batteries every six months and replace the detectors every five to seven years. Always prioritize safety, as gas is flammable and explosive, and carbon monoxide is a deadly gas that’s difficult to detect.
10. Test your furnace’s thermostat for proper operation
At the beginning of each heating season, check your thermostat to make sure it’s functioning correctly. Replace the battery if necessary and confirm that the settings, fan speeds, and programmed schedules are working. Place a portable thermometer near the thermostat and compare the readings. Ideally, the difference between the thermometer and thermostat should not exceed one degree.
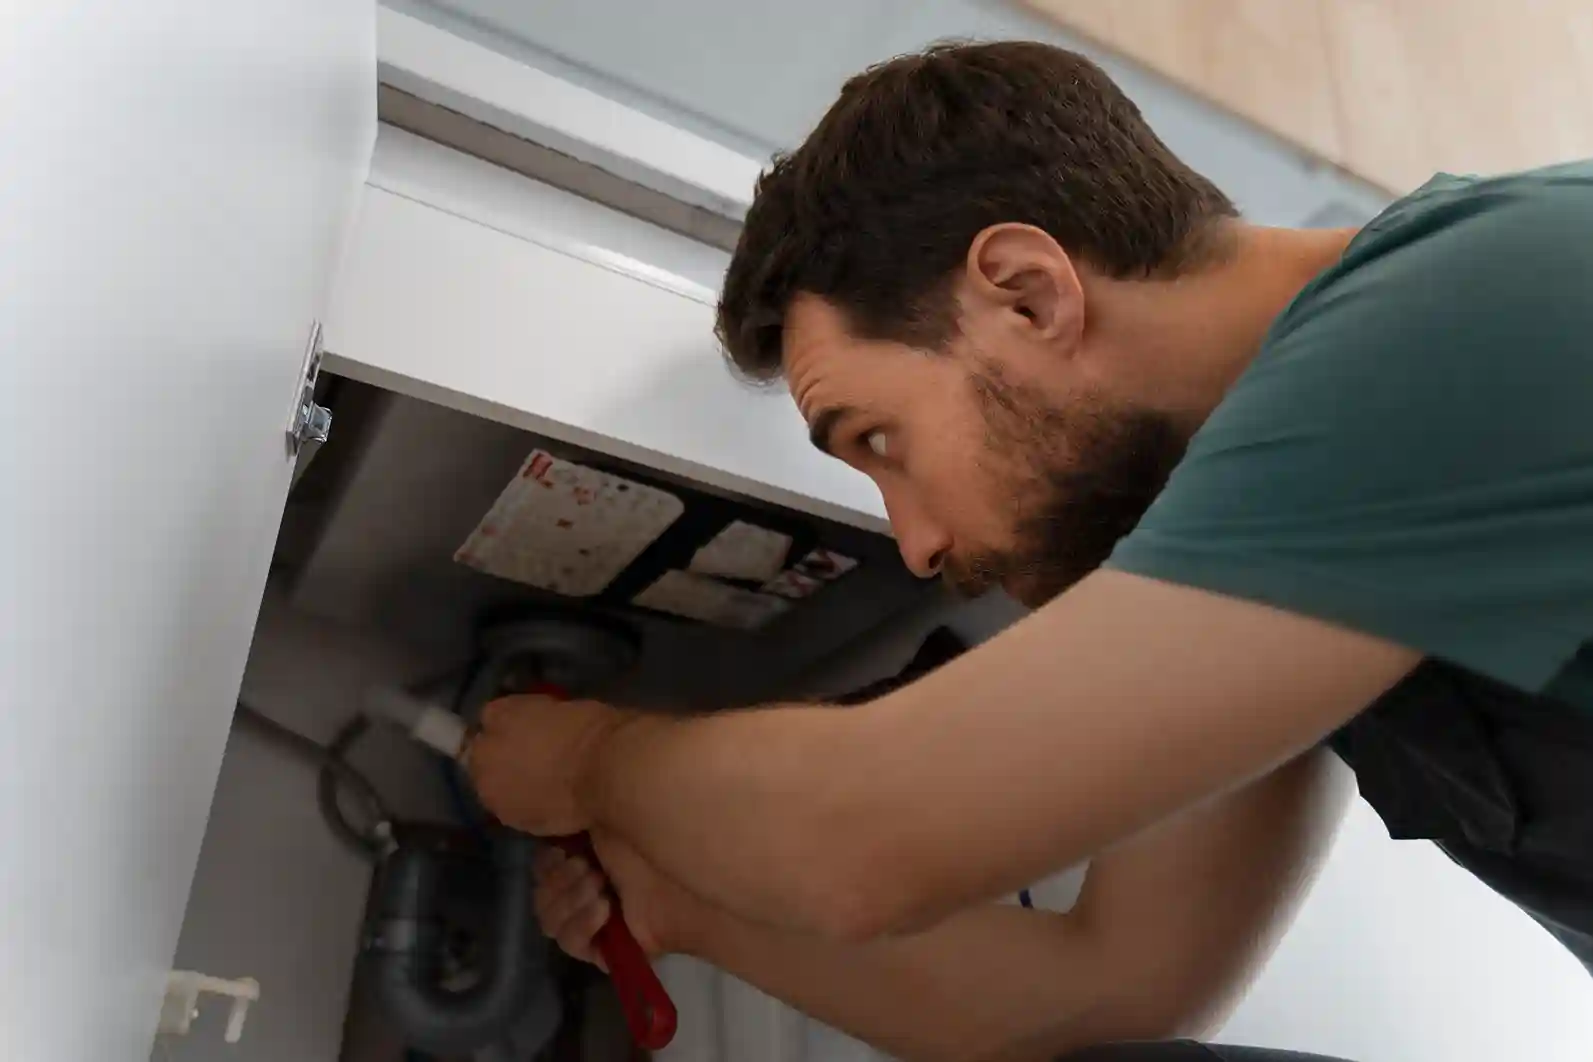
When to Call in a Professional?
Sometimes, no matter how much effort you put into DIY furnace maintenance, there are issues that are beyond what you can handle yourself. Knowing when to hire a professional HVAC technician is important for your safety, comfort, and the longevity of your furnace. If you encounter any of the following signs, it’s time to make that call and let a professional take care of the problem.
- Cracked heat exchanger: If you suspect or notice a cracked heat exchanger, stop using your furnace immediately. This is a serious issue that requires an expert. A damaged heat exchanger can lead to carbon monoxide leaks, which are dangerous.
- Excessive corrosion or damaged parts: While regular maintenance can prevent some damage, years of wear and tear might cause parts of your furnace to corrode or break. If you see corrosion or damaged parts, it’s a clear sign that a technician needs to step in.
- Irregular burner flames: Irregular burner flames might indicate a more complex problem with your furnace’s fuel system. If the flames aren’t blue and steady, or if they flicker, it could mean a serious malfunction that needs immediate attention from an HVAC technician.
- Short-cycling: When your furnace turns on and off frequently without running for a full cycle, it’s called short-cycling. This can strain your system and lead to higher energy bills. If this keeps happening, call in an expert to pinpoint the exact issue.
- Strange odors or leaks: Strange odors can be a warning sign of something wrong with your furnace. A burning smell could indicate damaged parts, while a gas or fuel odor could signal a leak. Both are potentially hazardous, so it’s important to get a professional to inspect your system.
Conclusion
Performing regular furnace maintenance before the cold winter months can save you time, money, and discomfort. By completing these 10 simple DIY tasks, you ensure that your furnace runs efficiently, extends its lifespan, and reduces the likelihood of unexpected breakdowns.
Not only does this enhance your home’s warmth, but it also boosts energy efficiency, keeping your heating bills under control. So, take a few hours this fall to tackle these tasks, and you’ll enjoy a cozy, worry-free winter. Stay ahead of the chill, and keep your furnace in top shape all season long!